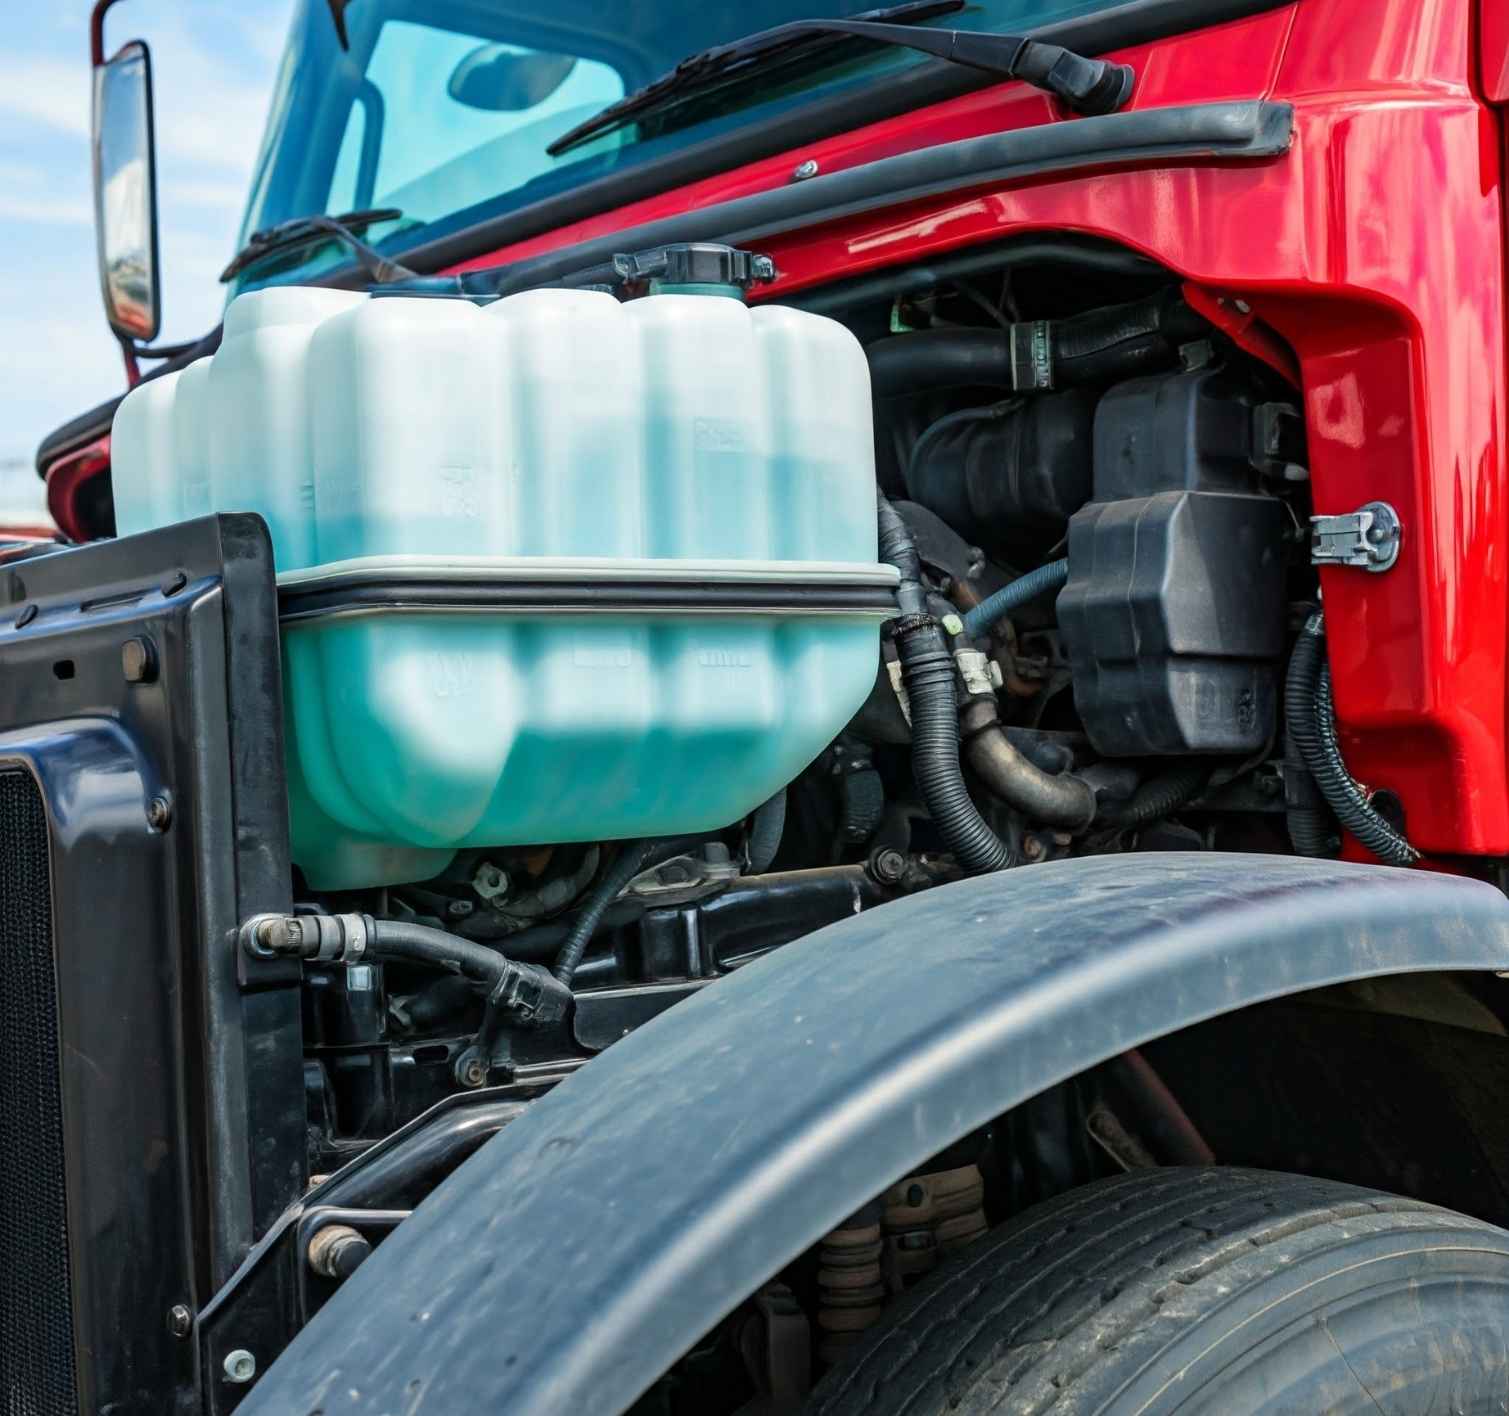
Coolant Tanks Issues Common Problems and Solutions
Coolant tanks are a vital component of an American truck’s engine cooling system. They serve as a reservoir for the coolant, ensuring the engine operates at an optimal temperature. However, like any truck component, coolant tanks can encounter issues over time, potentially leading to engine overheating and costly repairs. In this article, we’ll explore common coolant tank problems, ways to diagnose and resolve them, and why selecting the correct coolant is crucial for performance and longevity.
Common Problems with Coolant Tanks
1. Leaks
Leaks are among the most prevalent issues with coolant tanks. Over time, wear and tear, exposure to high temperatures, and vibration can cause the tank material to degrade, resulting in cracks or holes.
Symptoms of Leaks:
- Frequent low coolant warnings.
- Puddles of coolant under the truck.
- A sweet smell from leaking antifreeze.
2. Cracks in the Tank
Cracks typically develop due to material fatigue, excessive pressure, or prolonged exposure to fluctuating temperatures. Plastic tanks, common in many trucks, are particularly prone to cracking under stress.
Signs of Cracks:
- Visible fissures on the tank.
- Gradual loss of coolant without obvious leaks.
3. Faulty Caps or Seals
The cap and seals of the coolant tank maintain proper pressure within the system. A defective cap can cause pressure imbalances, leading to overheating or coolant loss.
Indicators of Faulty Caps or Seals:
- Steam escaping from the cap.
- Difficulty maintaining optimal engine temperature.
4. Sediment and Contamination
Over time, contaminants such as rust or debris can accumulate in the coolant tank, reducing its efficiency and potentially clogging the cooling system.
Signs of Contamination:
- Discolored or sludgy coolant.
- Reduced cooling performance.
Diagnosing Coolant Tank Problems
Visual Inspection
Start with a thorough visual check of the coolant tank. Look for visible cracks, leaks, or deformation. Pay attention to discoloration around seams, which may indicate a slow leak.
Pressure Testing
A pressure test can reveal leaks that aren’t immediately visible. This test involves pressurizing the cooling system to identify weak points where coolant may escape.
Inspect Coolant Quality
Check the coolant for discoloration or debris. Sludgy or contaminated coolant often points to a poorly maintained system or internal corrosion.
Check the Cap and Seals
Examine the coolant tank cap for cracks or damage. Ensure the seals are intact and fit snugly, as poor sealing can lead to pressure loss.
Solutions for Common Coolant Tank Problems
Repairing Leaks
For small leaks, a sealant designed for coolant systems can provide a temporary fix. However, permanent solutions typically involve replacing the damaged tank or the affected part.
Fixing Cracks
Plastic tanks with minor cracks can sometimes be repaired using specialized adhesives or epoxy. For larger cracks or structural damage, replacement is the safest option.
Replacing Faulty Caps or Seals
Replacing a malfunctioning cap or seal is relatively inexpensive and can restore the system’s pressure balance, preventing overheating.
Cleaning Contaminated Tanks
Flush the coolant system thoroughly to remove debris or sediment. Replace the old coolant with a fresh, manufacturer-approved coolant mix to restore performance.
Importance of Using the Correct Coolant
Compatibility with Materials
Using the wrong type of coolant can lead to chemical reactions with the tank material, accelerating wear and tear. Always refer to the truck manufacturer’s specifications when choosing a coolant.
Temperature Regulation
Different coolants have varying freezing and boiling points. The right coolant ensures the system performs optimally in extreme weather conditions.
Corrosion Protection
Quality coolants include additives that prevent rust and corrosion, protecting the tank and other cooling system components.
Preventative Maintenance Tips for Coolant Tanks
- Regular InspectionsCheck the coolant level and tank condition during routine maintenance to catch potential problems early.
- Replace Coolant PeriodicallyOld or degraded coolant loses its effectiveness and may contribute to corrosion or sediment buildup. Follow the truck manufacturer’s recommended intervals for coolant replacement.
- Monitor System PressureKeep an eye on the system pressure to ensure the cooling system operates efficiently. Replace the tank cap if it fails to maintain the proper pressure.
- Protect Against VibrationsInstall vibration-dampening mounts if your truck operates in high-vibration environments. These mounts help prevent premature wear and cracks.
- Use OEM or High-Quality Replacement PartsWhen replacing a coolant tank or its components, opt for original equipment manufacturer (OEM) parts or high-quality aftermarket options to ensure reliability.
The coolant tank plays an essential role in maintaining the health and performance of your American truck. Understanding common problems like leaks, cracks, and contamination can help you diagnose and address issues promptly, avoiding costly engine damage. Proper maintenance, including using the correct coolant and inspecting the system regularly, ensures the tank and the entire cooling system perform optimally.
At Torque Parts, we provide high-quality coolant tanks and other spare parts designed specifically for American trucks. Trust our expertise and products to keep your truck running smoothly and efficiently, mile after mile.
By staying proactive with maintenance and relying on durable components, you can extend the lifespan of your truck’s cooling system and minimize unexpected downtime. Visit Torque Parts for all your truck body part needs.
Check out our articles Body Parts


